$4.00 · 8-page PDF · instant download
Secure checkout by Stripe. Instant download after payment. All sales are final once the guide is downloaded.
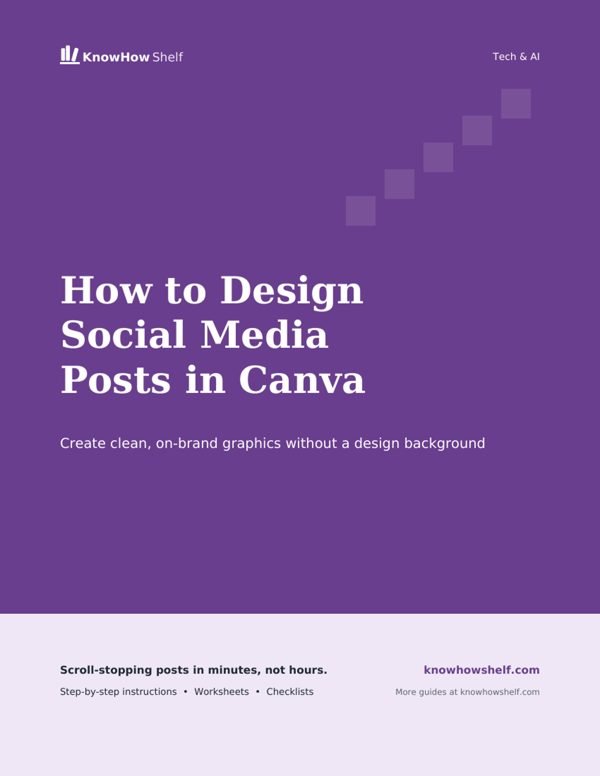
Create clean, on-brand graphics without a design background
This guide is for small business owners, community groups, creators and anyone who needs good-looking social media graphics but has no design training. You will learn how to set up Canva, pick the right size for each platform, use templates without looking generic, apply basic design rules, and build a reusable brand kit so every post looks like it belongs together. By the end you will be able to produce a week of posts in a single sitting.
Canva is a browser-based design tool that also has apps for phones, tablets and computers. The free plan includes thousands of templates, photos, fonts and graphics, which is plenty for most beginners. The paid plan adds extras such as a brand kit with multiple logos and fonts, a background remover, more stock content and the ability to resize a design in one click. Plans and features change over time, so check the pricing page on canva.com for what is currently included where you live.
Inside the editor, the layout is the same on every design. The left panel holds Design (templates), Elements (shapes, lines, graphics and frames), Text, Uploads (your own photos and logos) and more. The top toolbar changes depending on what you have selected: click a text box and you see font, size and colour; click a photo and you see crop, filters and effects. The canvas sits in the middle, with zoom controls at the bottom. If you get lost, the undo button, or Ctrl+Z on Windows and Cmd+Z on Mac, reverses your last change, and Canva saves your work automatically as you go.
Each platform displays images at different shapes. A post designed in the wrong size gets cropped, often cutting off text or faces. Canva has preset sizes for every major platform: type the platform name into the search bar, such as Instagram post, and choose the blank design or a template.
| Use | Common shape | Canva preset to search |
|---|---|---|
| Feed post (most platforms) | Square, 1:1 | Instagram post (square) |
| Taller feed post | Portrait, 4:5 | Instagram post (portrait) |
| Stories and short video | Tall, 9:16 | Instagram story or TikTok video |
| Facebook or LinkedIn link post | Wide, roughly 1.91:1 | Facebook post or LinkedIn post |
| Cover or banner image | Very wide | Facebook cover or LinkedIn banner |
| Tall, 2:3 | Pinterest pin |
Platforms update their recommended sizes from time to time, so if something looks cropped after posting, search the platform's help centre for its current image guidelines. Canva's presets are usually updated to match.
For tall Story designs, keep important text away from the top and bottom edges. Profile pictures, reply boxes and buttons cover those areas. A good habit is to keep key words inside the middle two thirds of the canvas.
Get the rest: the full step-by-step guide plus a printable worksheet for $4.

$4

$4

$4

$4

$4

$4

$4

$4

$4
$4

$4

$4

$4

$4

$4

$4

$4

$4

$4