KnowHow Shelf
Home / Gardening & Outdoors
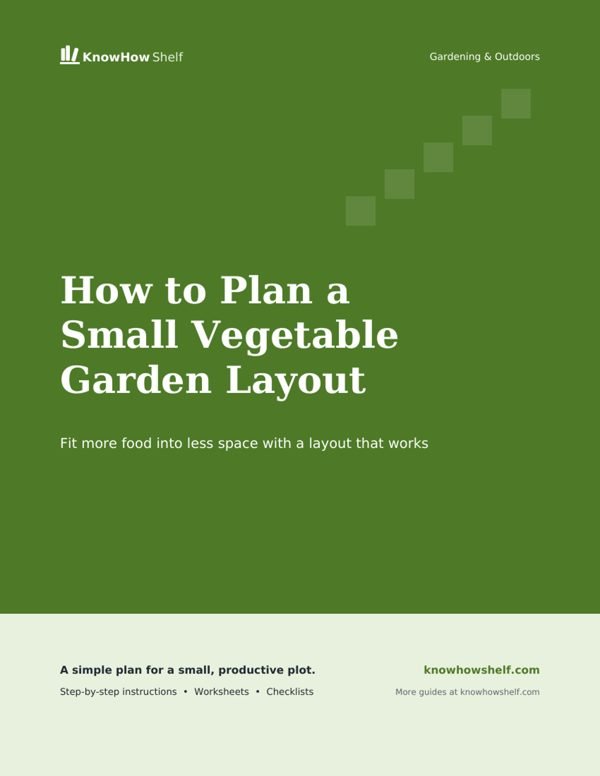
How to Plan a Small Vegetable Garden Layout PDF guide cover

$4.00 · 8-page PDF · instant download

Secure checkout by Stripe. Instant download after payment. All sales are final once the guide is downloaded.

Gardening & Outdoors

How to Plan a Small Vegetable Garden Layout

Fit more food into less space with a layout that works

What's inside the full guide

  1. Start With Your Site
  2. Choose a Bed Style
  3. Decide What to Grow
  4. Lay Out the Beds
  5. Plan for Succession and Rotation
  6. Timing Your Planting
  7. Final Checks Before You Plant
  8. Small Garden Layout Planner (printable worksheet)

Free preview

This guide is for anyone with a small yard, patio corner or a single raised bed who wants to grow real food without wasting space or effort. You will learn how to measure and map your site, pick a bed shape, decide what to grow, space crops properly and plan successions so the plot stays productive all season. By the end you will have a drawn plan ready to plant.

Start With Your Site

Every good layout begins with what the space gives you. Spend a day or two observing before you draw anything. The three things that matter most are sun, water and access.

  • Sun: most vegetables need at least six hours of direct sun a day, and fruiting crops such as tomatoes, peppers, squash and beans do best with eight or more. Note when each part of the space is in sun at morning, midday and late afternoon.
  • Water: measure how far the area is from a tap or water butt. A garden you can water in five minutes gets watered; one that needs a long hose drag often does not.
  • Access: you need to reach every plant without stepping on the soil. Plan for paths and think about where you will kneel, carry a basket or push a wheelbarrow.
  • Shelter: strong wind dries soil and snaps stems. A fence, hedge or wall on the windward side helps, but watch the shade it casts.
  • Slope and drainage: avoid low spots where water pools. On a slope, run beds across the slope rather than down it to hold water and soil.
  1. Measure the space Measure the length and width of the usable area with a tape. Include any fixed objects such as sheds, trees, paths and drains.
  2. Draw it to scale On squared paper, let one square equal 30 cm or one foot. Mark north and draw the boundaries and fixed objects.
  3. Shade it in Lightly shade any areas that get less than six hours of sun. These are for leafy crops and herbs, not fruiting plants.
  4. Mark the water source Add the tap or water butt and any existing paths so your plan connects to how you will actually move around.

Choose a Bed Style

Small gardens produce most when crops grow in compact beds rather than long single rows. You only walk on the paths, so bed soil stays loose and you can plant closer together.

Bed styleBest forThings to know
Raised bedPoor or heavy soil, easy access, neat lookCosts more to build and fill; dries faster in summer
In-ground bedGood soil, lowest costNeeds digging or sheet mulching to start; edges need maintaining
Containers and grow bagsPatios, balconies, rentersNeeds frequent watering; choose large pots of 20 litres or more for most crops
Square-foot gridBeginners who want a clear systemVery tidy and easy to plan; best in a raised bed with rich mix
Keyhole or U-shaped bedReaching a wider bed from one pathSaves path space; slightly trickier to build

Whatever you choose, keep beds no wider than about 1.2 m (4 ft) if you can reach from both sides, or about 75 cm (30 in) if one side is against a wall or fence. That lets you reach the middle without stepping in. Length can be whatever fits.

Paths need to be wide enough to kneel on comfortably: about 45 cm (18 in) at minimum, and 60-75 cm (24-30 in) if you will use a wheelbarrow. In a tiny garden it is tempting to squeeze paths, but cramped paths lead to trampled plants and compacted soil.

Fill raised beds cheaply: Filling a deep raised bed with bought compost is expensive. Put a layer of cardboard on the ground, add woody prunings or old logs at the bottom, then partly rotted leaves or grass clippings, and finish with at least 20-30 cm of good topsoil and compost mix where roots will grow.

Get the rest: the full step-by-step guide plus a printable worksheet for $4.
More Gardening & Outdoors guides

How to Start a Vegetable Garden from Scratch

$4

How to Grow Tomatoes That Actually Produce Fruit

$4

How to Start Composting at Home

$4

How to Water Houseplants Correctly and Stop Killing Them

$4

How to Build and Fill a Raised Garden Bed

$4

How to Grow Vegetables in Containers on a Patio

$4

How to Start Seeds Indoors Successfully

$4

How to Get Rid of Aphids Naturally

$4

How to Prune Roses Without Damaging Them

$4

How to Fix Yellow Leaves on Houseplants

$4

How to Grow Herbs Indoors on a Windowsill

$4

How to Grow a Lush Lawn from Seed

$4

How to Prune Hydrangeas the Right Way for Your Type

$4

How to Get Rid of Moss in Your Lawn

$4

How to Save an Overwatered Plant with Root Rot

$4

How to Repot a Houseplant Without Shocking It

$4

How to Grow Potatoes in Bags or Buckets

$4

How to Get Rid of Fungus Gnats in Houseplants

$4

How to Get Rid of Weeds Without Chemicals

$4